
Thursday, September 13, 2012

Fresh Chicken Bruschetta

So, I went to the store on Monday and all I knew was that I wanted something with tomatoes and basil, thanks to Pinterest!  I just pinned the Cheesecake Factory Bruschetta and it was all I could think about!  So, I busted into the pantry and let my imagination run wild.  And OH-MY-GAHHH!! 

I wish I could tell you exactly how much of everything I put in the bruschetta, but in all honesty, it was all to taste and on the light side of everything!!  I will do my best to guestimate how much I used, but really, I just began to lightly add seasonings here and there just to make it perfect!!  If you don’t trust your hand, there is no way you could go wrong with the CF recipe up above!  This Bruschetta is just so sweet and mouthwatering! 
Chicken:
4 chicken breasts, pounded to ¼ of an inch
Sea salt
Pepper
Garlic Powder
Dab of minced garlic on each chicken breast
2 tbsp Olive Oil
2 tbsp Kraft Sweet Balsamic Dressing 

Bruschetta (guestimated):
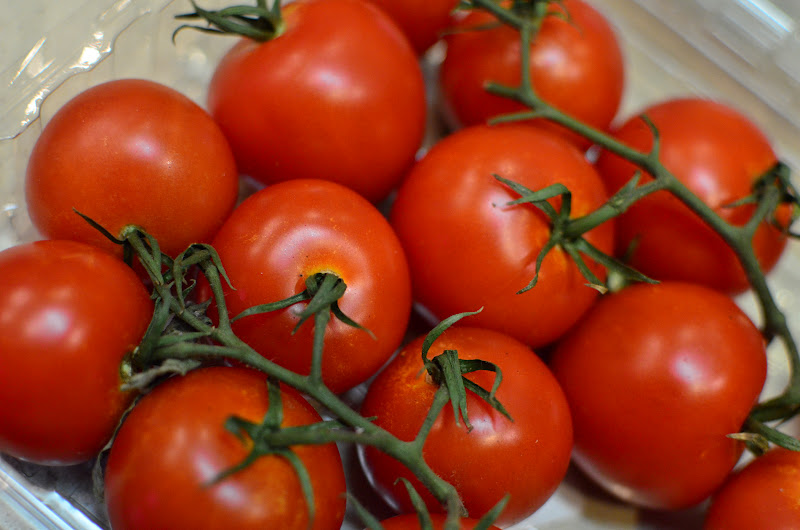
8 – 10 small vine ripe tomatoes
1/8 cup purple onion
2 tbsp chopped basil
2 tbsp minced garlic
2 tbsp olive oil
1 tbsp Balsamic Reduction
Juice of 1 Lemon
1 tbsp sugar

To make the Bruschetta, use a slap chop to chop the tomatoes and onions evenly then chop the basil with a knife, being careful to not bruise the leaves.  In a large bowl, mix with remaining ingredients, adding more to taste when necessary.  Place in the fridge so all the players can get nice and cozy while you season the chicken. 
 
Then rub the chicken with S&P, Garlic Powder and a drop of minced garlic.   

Heat the pan and add 2 tbsp olive oil!  Brown the chicken.  Just before the chicken is complete, deglaze pan with the balsamic dressing and finish cooking the chicken in the balsamic sauce.  Remove the chicken from the pan and pour the pan yummies all over the chicken!  Top with the Bruschetta and serve! 
 
Just to make it even yummier; drizzle with Balsamic Reduction

 
And here are the major players!!


You can find this bad boy in the Cooking Connection of HEB!  I substituted vinegar with this reduction to help sweeten up the Bruschetta because I was afraid to add too much vinegar and ruin my veggies!  This lovely bottle is every bit of the bruschetta flavor you are dying for!  Finish the Bruschetta with fresh lemon.  The lemon is a MUST!!  Do.Not.forget this step!
 
 
Deglaze the pan with this dressing from Kraft.  Toss the chicken in the sauce and allow it to coat in a dark brown glaze!  Flip at least two times to finish cooking the chicken in this sweet sauce!
 
 
The chicken gets nice and happy in this yumminess!
 
 
Really, it can't get any better than this!

Sunday, August 26, 2012

Chunky Cheesy Enchiladas

Many of my recipes have derived in some shape or form from someone in my family.  When I was in college, my aunt used to make these awesome chicken enchiladas.  They were perfect for a college student with limited cooking skills, supplies and money!  So, when I was searching pinterest one day, I found this recipe.  It was very similar to my aunt’s recipe, minus the cream of chicken.  My family loved them, but I thought they were a little heavy on the sour cream and missing, something.  So, the next time I made them, I thought I’d combine my aunt’s recipe, cut down on the sour cream and add my own little touch!  HEAVENLY is the only thing that comes to mind! 
 
So, if you know anything about me, you know I LOVE cheese.  That is why my recipes call for a bag of cheese, and then some!!  I mean, it’s filled with cream and butter, why stop short on the cheese??  Just do it!  You aren’t going to eat these every day!  But, the one day you do, you won’t regret it!  I also recommend you cook these for a crowd so you don’t have a lot of leftovers to munch on yourself.  Because you will, they are just that good! 
Recipe:

1 lb chicken breast, diced
1 medium onion, chopped
1 tablespoon vegetable oil
10-12 tortillas
1 Bag o Shredded Cheese (I used Kraft Philidelphia Queso Quesadilla)
½ cup butter
½ cup flour
30 ounces chicken broth
½ cup sour cream
2 (4 ounce) cans chopped green chilies
1 can Rotel
Salt, Pepper, Garlic Powder, Cumin, Lemon Pepper and Chili Powder to taste

1.       Dice chicken and onion
2.      Heat your skillet with vegetable oil and cook chicken and onion just until the chicken is cooked through.
3.      Season with Salt, Lemon Pepper, Garlic Powder, Cumin and Chili Powder.  (Use liberally, you can add more to the sauce later)
4.      Remove chicken and onion and set aside to cool. 
5.      If you have a lot of liquid left in the pan, you can drain most of that out.  I like to leave a little in the pain to add to the yumminess! 
6.      Melt butter, add flour and make a light yellow roux. 
7.      Slowly add in chicken broth, constantly stirring to remove lumps. 
8.      Separate the Rotel from the juice and add the juice to the Rotel and the tomatoes to the chicken mixture.
9.      Add the two cans of green chilies and sour cream to the mixture and bring to a light boil before removing from the heat. 
10.   You may now add more salt, pepper, garlic powder, cumin chili powder to taste.  IF you don’t like it too spicy, leave out the cumin and garlic powder.  Keep it to the basics!  It’s just as good!
11.   Pour two spoonful’s of the sauce into the bottom of a 9x13 pan to prevent your masterpieces from sticking. 
12.   Here is where you can get yummy with the cheese!  Toss a handful of cheese into the chicken and Rotel mixture and roll up your enchiladas and place into the baking dish. 
13.   Bake for 30 minutes at 350 degrees before you top with more cheese.  Use as little or as much as you like.  I used a whole bag!  NO judging! 
14.   Finish cooking for 15 minutes just until the cheese is perfect and bubbly! 


Rotel, Chicken and Cheese! 
 
 
Any left over chicken mixture?  Just toss it into the skillet of yumminess!
 
 
Pour a ladle or two on the bottom of the pan to prevent from sticking.
 
 
You're almost there!  Roll those babies up!!
 
 
Now pour that yumminess onto your rollups and Bake for 30 minutes at 350 degrees.
 
 
Add cheese and bake for an additional 10 to 15 minutes.  Until it's nice and golden and bubbly brown!  Basically bake it till PER-FEC-TION!
 

Friday, August 17, 2012

NOLA Style Chargrilled Oysters

So, four months ago the only way I would eat an oyster was fried.  I was just introduced to oysters when I was preggo!  Before then I thought they were gross!  I don’t know what made me want to try them back in April, but I was curious.  Maybe I felt a little left out because everyone but me was really enjoying them!  And O-M-Gaaaaaa!!  I fell in love!  Seriously!  Two days after I tried them for the first time, I made Brian take me to Babins to see if I really liked them or if it was a onetime gig!  Well, we’ve gone out at least twice a month since then for me to get my oyster on!  I’m hooked!
Honestly, there are days when I’m dreaming of them! 

Fast forward four months and Brian and I spent our Friday night shucking, grilling, basting and cheesing!  Now, this isn’t a recipe for the first time griller!  But, if you have four hands and some time, this is totally worth it!  I’d say this is definitely a date night stay at home dinner!  Make yourself some drinks and have fun together!

Brian spent about 45 minutes shucking them!  He had never done this before! It took him a while to find his grove, but once he got the hang of it, it got much easier.  You will need to purchase strong paring knife.  We stopped by Wal-Mart on the way home to pick one up.  Oh, by the way, we got the oysters at Fiesta!  Super cheap!  $4.99 a dozen!  Way cheaper than your local seafood joint!  Since this was his first time he watched the chef on this video to show him what to do. 
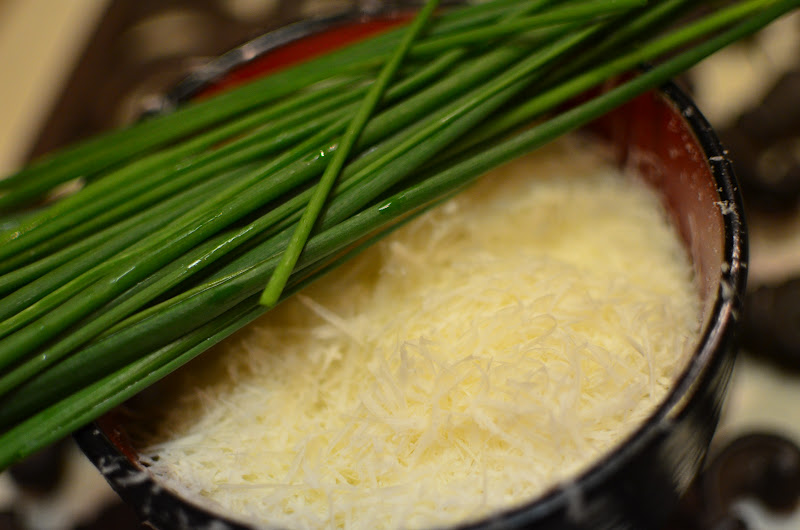
In the mean-time, I turned the grill on H-O-T, HOT and made the garlic, cheese butter!  Start by grilling the oysters for 3-4 minutes until the juices in the oysters get cooking.  Top each oyster with a spoon full of the cold butter mixture and let it melt.  Once the flames are rising and the butter is melted, finish the oysters off with a tablespoon of grated Italian cheese, we used Pecorino Romano.  Close the lid and let the cheese get golden brown on the corners before removing them! 
There are absolutely no words to describe how amazing these oysters were!  Salty, buttery and cheesy!  Really, what more could you ask for!?
We found the recipe here.

Butter Mixture
Using a hand mixer, mix together
1 Stick Unsalted Butter, very soft
1 Pinch Kosher Salt
1 tsp Freshly Ground Black Pepper
1 Tbsp Minced Garlic
4 Tbsp Pecorino Roman1 pinch Cayenne
1 pinch White Pepper
1 Spritz Lemon Juice
1 tsp Chopped Chives

Once the oysters are removed from the grill, top with fresh chives and enjoy!

Monday, August 6, 2012

Welcome to My New Site!


A special thanks to Rita at The Coffeeshop Blog!  She redisigned my blog so that you can now navigate through our family blog, my photography blog and coming soon, Mannion's Recipes!!  People always ask me for my recipes and since my true passion lies in food, I figured the best way to get our food out there, is through the blog!  All summer long, I've been taking pictures and writing our recipes down so that I can share them with all of you!  We are even going to start catering a couple lunches a month!  So, if you know someone who wants someone to BBQ, cook crawfish or just want a good down home cooked meal, or just the main course, send them our way!   
 
© Mannion Memories

Website Design by CoffeeShop Designs